Introduction to Color Correction with DaVinci Resolve
Color correction is a quintessential aspect of bringing any video project to life, and DaVinci Resolve stands as one of the paramount tools for this task. With its robust set of features, DaVinci Resolve allows you to transform the raw footage into a visually compelling narrative. As you wade into this realm, it is imperative to first grasp some fundamental concepts that act as the bedrock for exquisite color grading and correction.
The journey begins with understanding the primary pillars of color science — hue, saturation, and luminance. Hue dictates the color itself—whether it slides towards reds, greens, or blues. Meanwhile, saturation measures the intensity or purity of the color, and luminance offers a gauge of how bright or dark a color appears. Mastery in manipulating these elements forms the crux of efficacious color correction.
Moreover, DaVinci Resolve's node-based interface lends itself to unprecedented flexibility. Nodes function as building blocks, each segmenting distinct adjustments to offer a non-destructive workflow. This modular approach allows you to apply color corrections incrementally, testing adjustments without altering the original footage.
The parade of tools available — from color wheels to curves, and LUTs (Look-Up Tables) — bestows the user with a vast toolkit for precision. Color wheels enable nuanced adjustments to shadows, midtones, and highlights, while curves provide a more graphical approach to manipulating these values with precision and subtlety. LUTs, on the other hand, offer a gateway to consistent color grading, translating the stylistic intent into reality.
For those embarking on the color correction voyage using DaVinci Resolve, exploration and experimentation are key. Traverse through each feature to fine-tune your craft, and as you become more conversant with these tools, your video projects will evolve with a new chromatic vibrancy and narrative clarity, helping in achieving cinematic visuals.
Essential Tools and Interface Overview
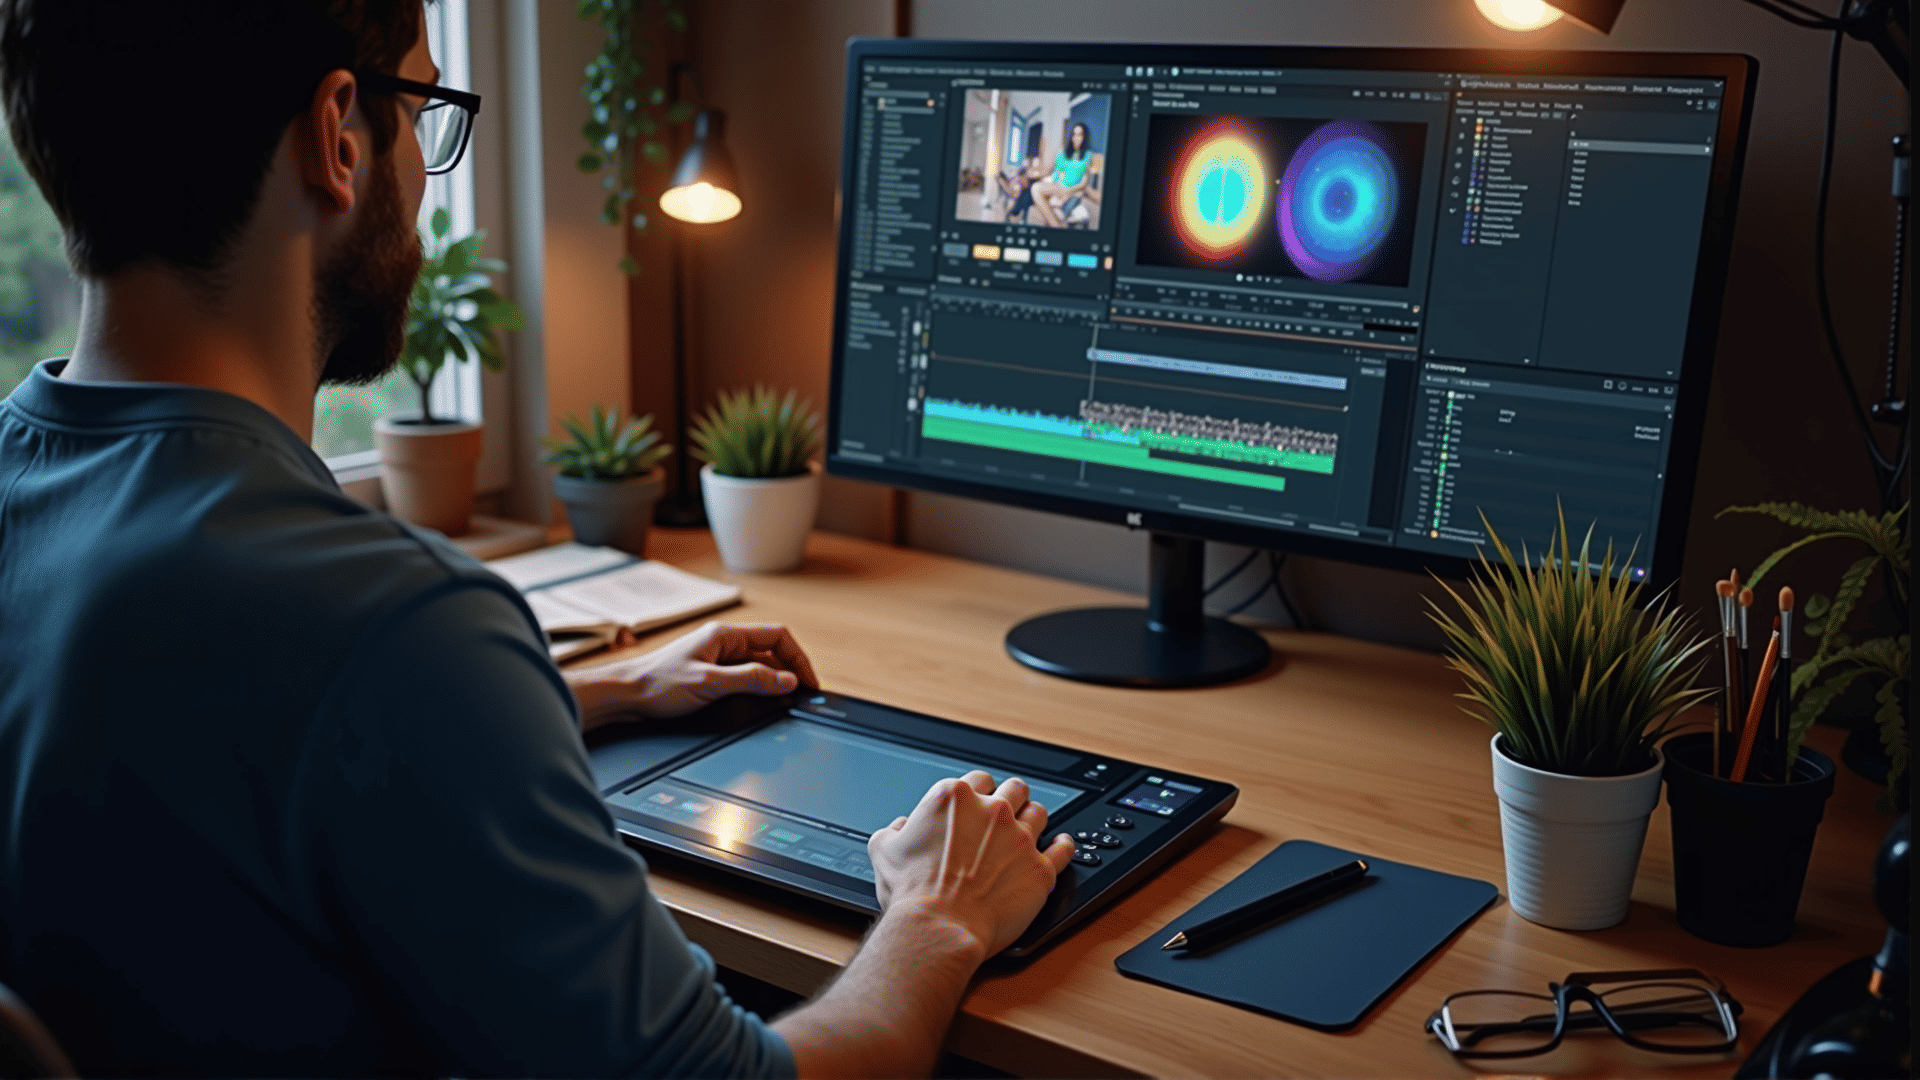
DaVinci Resolve stands as a paragon in the realm of color grading, offering an arsenal of tools that can transform the mundane into the cinematic. Navigating its multifaceted interface is akin to exploring an artist's palette, brimming with potential yet requiring a discerning eye to unleash its full capabilities.
Central to the DaVinci Resolve experience is the Color Page, a hub teeming with instruments designed to recalibrate your footage. The primary color wheels are your fundamental starting point, allowing you to modulate lift, gamma, gain, and offset. These wheels are not mere sliders but precise instruments that manipulate the nuances of your image's luminance and chrominance.
Beyond the rudimentary color wheels lie the secondary tools, where the magic truly unfolds. The Qualifier tool enables you to isolate specific hues, performing surgical color adjustments that can alter the emotional tonality of a scene. The Power Windows feature, meanwhile, acts as your virtual masking tool, empowering you to apply localized adjustments with geometric precision — a boon for creating vignette effects or enhancing contrast in select areas.
With the Node Editor, DaVinci Resolve diverges from conventional linear workflows. Here, you can construct complex grading networks through serial, parallel, and layer nodes, each contributing a distinct aspect to the final image. This non-destructive approach affords unparalleled flexibility, allowing for iterative refinement without altering the original footage.
Equally pivotal is the Scopes panel, an omniscient guide in your color grading journey. Displaying waveforms, vectorscopes, and histograms, it provides empirical data about color distribution and luminance, ensuring decisions are grounded in technical precision rather than subjective interpretation.
Mastery of achieving cinematic visuals using DaVinci Resolve's user interface and essential tools demands both patience and creativity. However, once adept, the result is imagery that transcends simple representation, aspiring instead to conjure emotion and imbue narrative depth.
Techniques for Achieving Cinematic Visuals
To elevate the visual storytelling in your films, achieving that coveted cinematic look often begins with the alchemy of color correction. This process isn't merely a technical adjustment but a creative endeavor that breathes life into your footage, imbuing it with mood and atmosphere. The first step is understanding the interplay of hues and tonal ranges that define cinematic aesthetics. Begin by calibrating your scintillating whites and profound blacks, ensuring a dynamic contrast that directs the viewer's attention precisely where you intend.
Employing LUTs (Look-Up Tables) is a profound technique to consistently maintain a specific aesthetic across scenes. These powerful tools map the color output of your video to a predefined look, effectively streamlining the color grading process. However, it's imperative to wield them judiciously, as gratuitous use can compromise the authenticity and originality of your visual narrative.
Subtler techniques that merit exploration include split toning, which allows you to infuse your highlight and shadow areas with complementary tones, creating depth and visual intrigue in your imagery. Pay close attention to skin tones, as inaccurate hues can disrupt the viewer's immersion. Utilize secondary color correction to isolate and refine specific color ranges, ensuring that the natural allure of complexions is preserved while the environment around your characters can still be enriched with your chosen palette.
Dynamic range is another facet to explore—it's essential to preserve details in both the highlights and shadows of your image. This is where your camera's capabilities, combined with well-executed exposure settings, will prove invaluable. Mind the color balance, ensuring a natural and coherent temperature across the sequence, yet feel empowered to shift this temperature when a scene demands a distinct emotional underscore.
In the pursuit of cinematic visuals, the convergence of these techniques is your arsenal. Each adjustment and nuance, meticulously applied, contributes to a cohesive visual tapestry that captivates and compels. Consider using DaVinci Resolve for its robust suite of tools that supports this creative process. Remember, while technical precision is vital, it is the emotive resonance of your color work that ultimately leaves an indelible mark on your audience.
Common Challenges and Troubleshooting
Color correction, while a powerful tool in the realm of visual enhancement, often presents a myriad of challenges that can perplex even seasoned practitioners. The art of color correction hinges on precision and a nuanced understanding of both aesthetic and technical elements. One prevalent challenge is achieving consistent color grading across different footage, a vexing issue exacerbated by varying lighting conditions and camera settings. Ensuring uniformity necessitates careful calibration and sometimes meticulous matching of hues, saturation, and luminance levels to maintain a coherent visual narrative.
Another frequent hurdle is dealing with noise and artifacts, which tend to mar the clarity of the image during the color grading process. This often manifests as unwanted grain or color banding, especially in low-light scenarios. Mitigating these blemishes requires using DaVinci Resolve judiciously, as overzealous application can lead to a loss of detail, thereby compromising image integrity.
White balance woes also feature prominently as a common pitfall. An incorrect white balance can cast unintentional tints over the footage, skewing the intended mood and tone. To address this, one must delve into the white balance settings, often balancing it with reference tools like a grey card to bring colors back to their true-to-life state.
Furthermore, relying heavily on automated color correction software can sometimes introduce challenges. While these tools are valuable, they might oversimplify complex scenes or misinterpret certain tones, necessitating manual overrides and tweaks. For a more nuanced touch, it's crucial to develop a keen eye for color discrepancies and engage in hands-on adjustments that complement the automated process.
Navigating these challenges requires not just technical expertise but also a creative intuition, ensuring that the final output is both technically sound and aesthetically pleasing. Engaging in continual learning and staying abreast of the latest tools and techniques will equip practitioners with the acumen needed to troubleshoot effectively and overcome the intricate challenges inherent in the art of achieving cinematic visuals.
Advanced Tips and Tricks
In the nuanced world of color correction, elevating one's craft from competent to exceptional often requires more than just a keen eye and a steady hand. Embracing advanced techniques can transform the mundane into the spectacular, allowing for a seamless final product that exudes professionalism.
One critical tactic is mastering secondary color correction: this involves selectively targeting specific hues within a frame without affecting the overall picture, thereby enabling precise adjustments that can alter the mood and focus subtly and effectively.
Another technique to consider is utilizing LUTs (Look-Up Tables) with a discerning approach. While LUTs are an excellent tool for achieving cinematic visuals, relying solely on them can result in overly homogenized results. Instead, use them as a foundation upon which you carefully build, tweaking additional parameters to ensure they complement rather than dominate your footage's natural tones.
Mastering the interplay of dynamic range recovery also holds paramount importance. By recognizing and manipulating the varied luminance levels, you can successfully retrieve details from seemingly blown-out highlights or bring out the shadows without introducing noise — creating a balanced image where every detail is meticulously preserved.
Moreover, understanding the psychological implications of color can greatly enhance storytelling. Experimenting with complementary color schemes and the emotional resonance each tone carries allows you to evoke specific moods and reactions. Color temperature manipulations, for example, can subtly suggest the passage of time or alter the perceived texture of a scene, imparting depth and immersion for the audience.
Finally, embrace technological advancements in real-time color grading tools and software, such as using DaVinci Resolve. They not only streamline workflows but offer immediate feedback, enabling faster iteration and experimentation. Continuous learning and adaptation, coupled with an insatiable curiosity, are the cornerstones of refining your color correction capabilities. By integrating these advanced tips into your toolkit, your work will not only achieve professional caliber but will also possess an indelible signature of artistry and finesse.